Installing a new heater in your home can be rewarding, ensuring comfort during cold seasons. However, choosing the right heater and understanding the installation process can be tricky without the right knowledge. Whether it’s a furnace, water heater, or combination boiler, each type has unique benefits for different household needs.
This guide aims to simplify the process, highlighting best practices for installing a heater. With clear steps and useful tips, you’ll be equipped to handle this task easily while ensuring your home remains cozy and warm.
Choosing the Right Type of Heater
Selecting the right heater for your home is important to ensure comfort and efficiency. Different heaters serve different needs, so understanding the options can help you make the best choice. Furnaces are popular for whole-home heating, using forced air systems to distribute heat. They are ideal for larger homes needing consistent warmth across multiple rooms.
Tanked water heaters store a large amount of hot water, making them great for families with high hot water demands. They provide a stable supply but may consume more energy due to constant heating. On the other hand, tankless water heaters heat water on demand, leading to lower energy consumption. They’re suitable for smaller homes or those seeking energy efficiency.
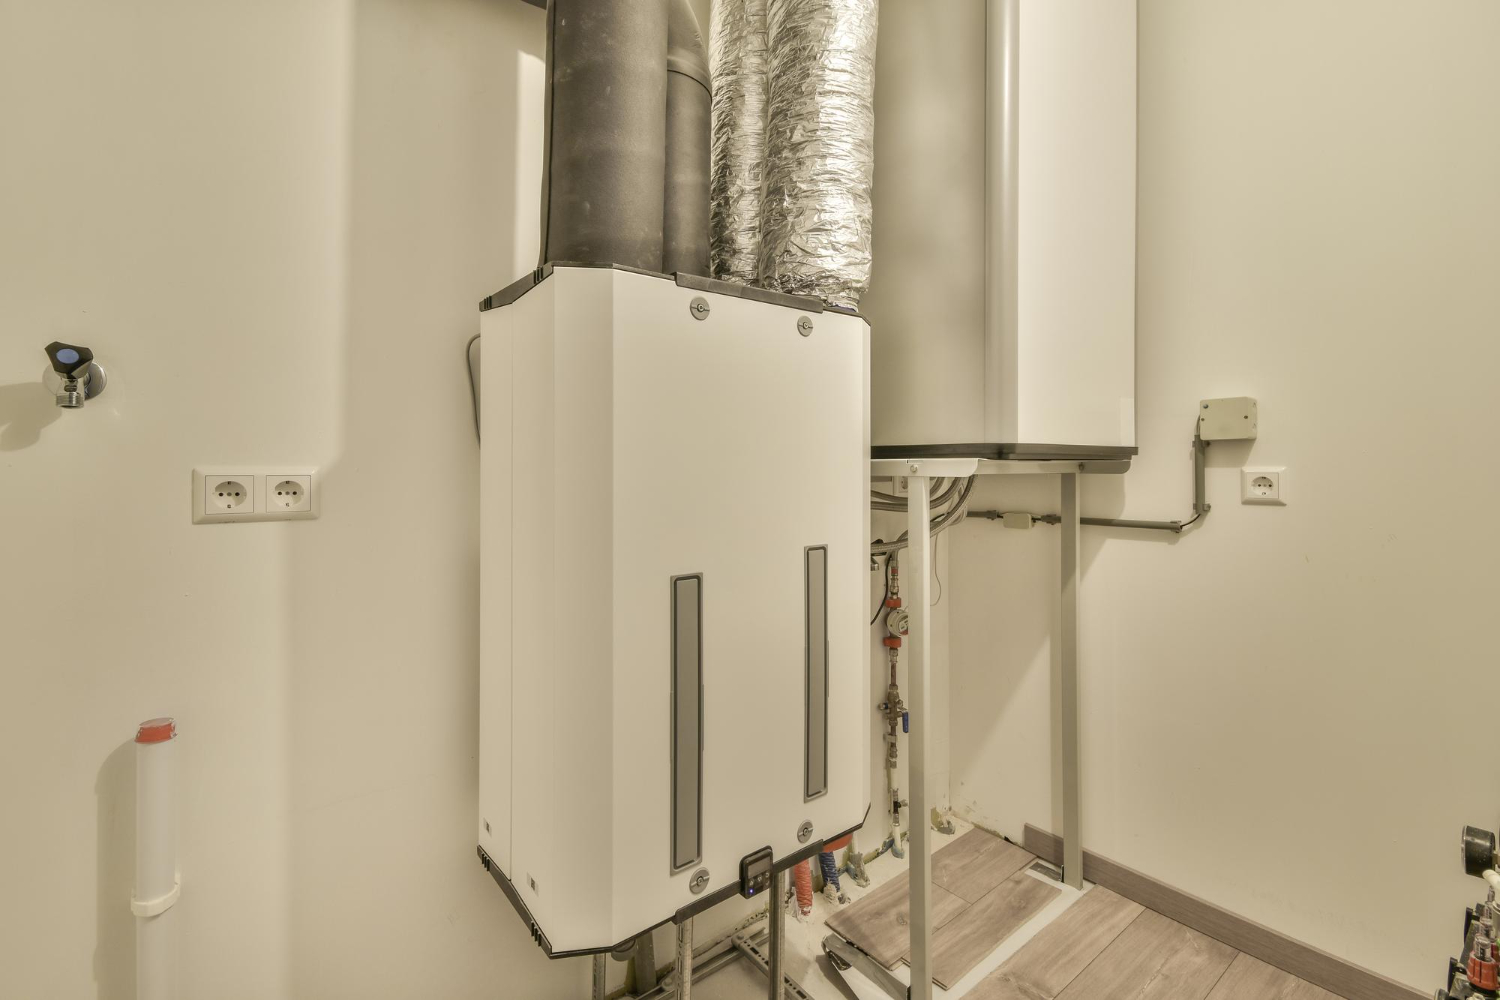
Combi boilers combine water heating and central heating in one unit. They’re compact and efficient, perfect for smaller spaces. Meanwhile, indirect water heaters use your home’s existing furnace or boiler to heat water. This option is good for regions with long, cold winters, offering a consistent hot water supply.
To choose the right heater, consider your household size, energy needs, and available space. Evaluate your daily usage patterns and prioritize what’s most important, such as energy efficiency or capacity. By aligning these factors, you can select a heater that fits your lifestyle and keeps your home cozy.
Preparing Your Home for Installation
Preparing your home properly before installing a new heater ensures a smooth process. Start by clearing the area where the heater will be installed. This provides easy access for installation and reduces the risk of damage to surrounding objects. Measure the space to confirm that the new unit will fit appropriately.
Check that the area has proper ventilation, especially if installing a gas-powered system. Adequate ventilation prevents dangerous buildup of exhaust gases. It’s also a good idea to assess your current ductwork or piping, ensuring they’re in good condition and compatible with the new heater.
Permits and inspections might be necessary before installation. These ensure the installation meets local building codes and safety regulations. Contact your local government or a licensed technician to determine if you need specific documentation. Arranging these permits ahead of time can prevent delays during the installation process.
Additionally, consider having a professional inspection of your electrical and plumbing systems. This helps identify any potential issues that could affect the performance of your new heater. Addressing these concerns proactively saves time and prevents costly repairs later on. By thoroughly preparing your home, you pave the way for a trouble-free installation and long-term efficiency.
Installation Process and Key Considerations
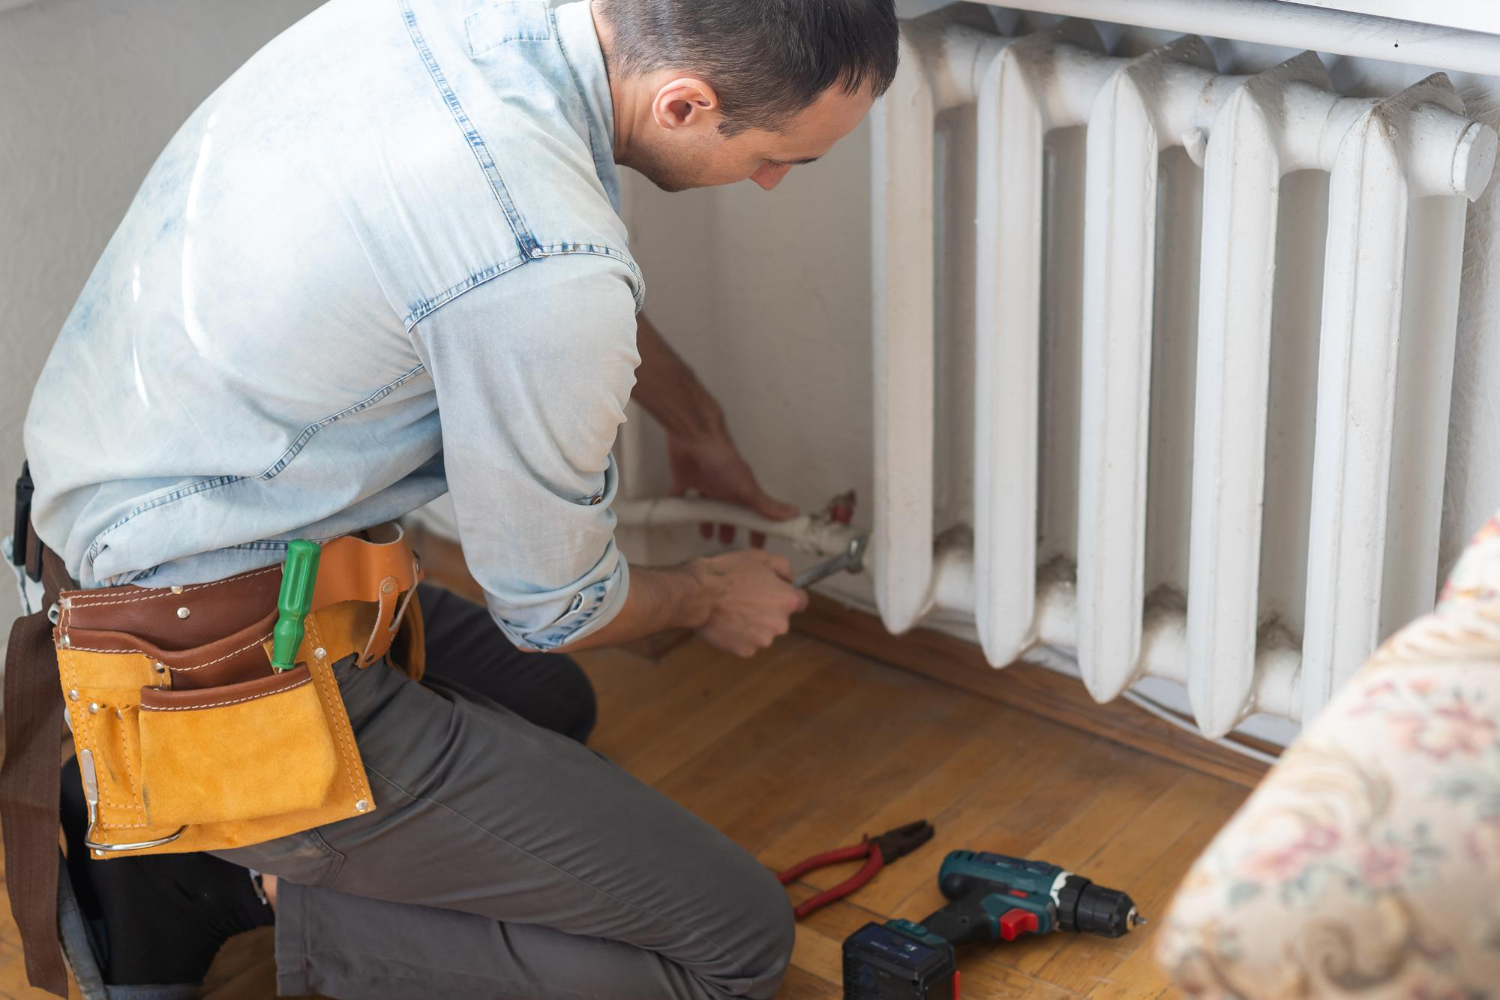
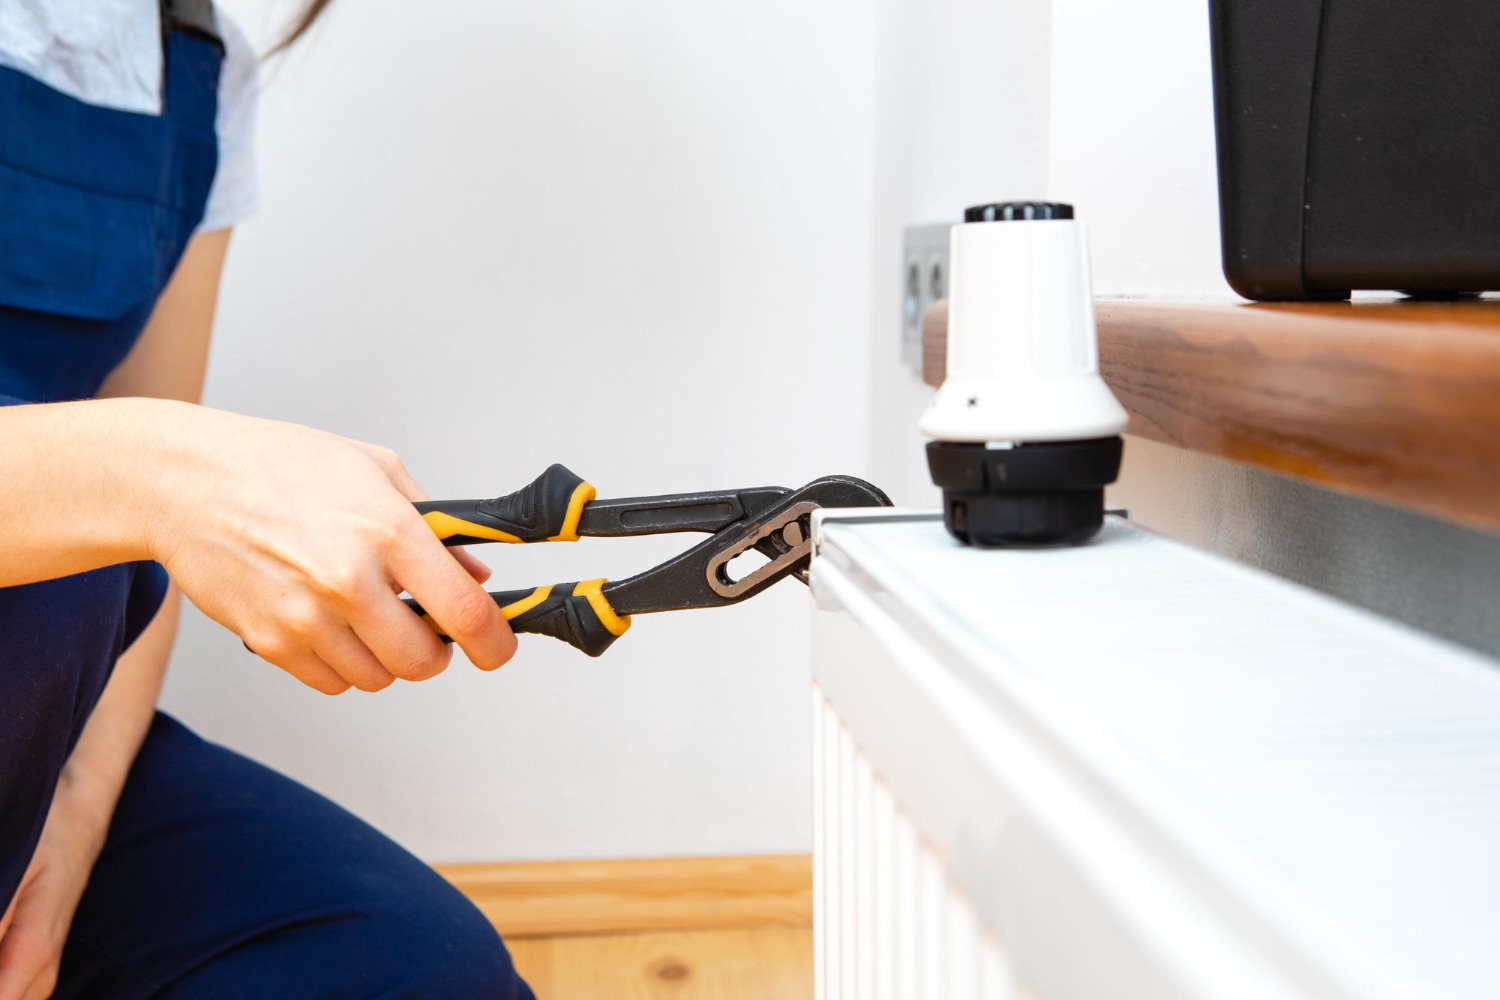
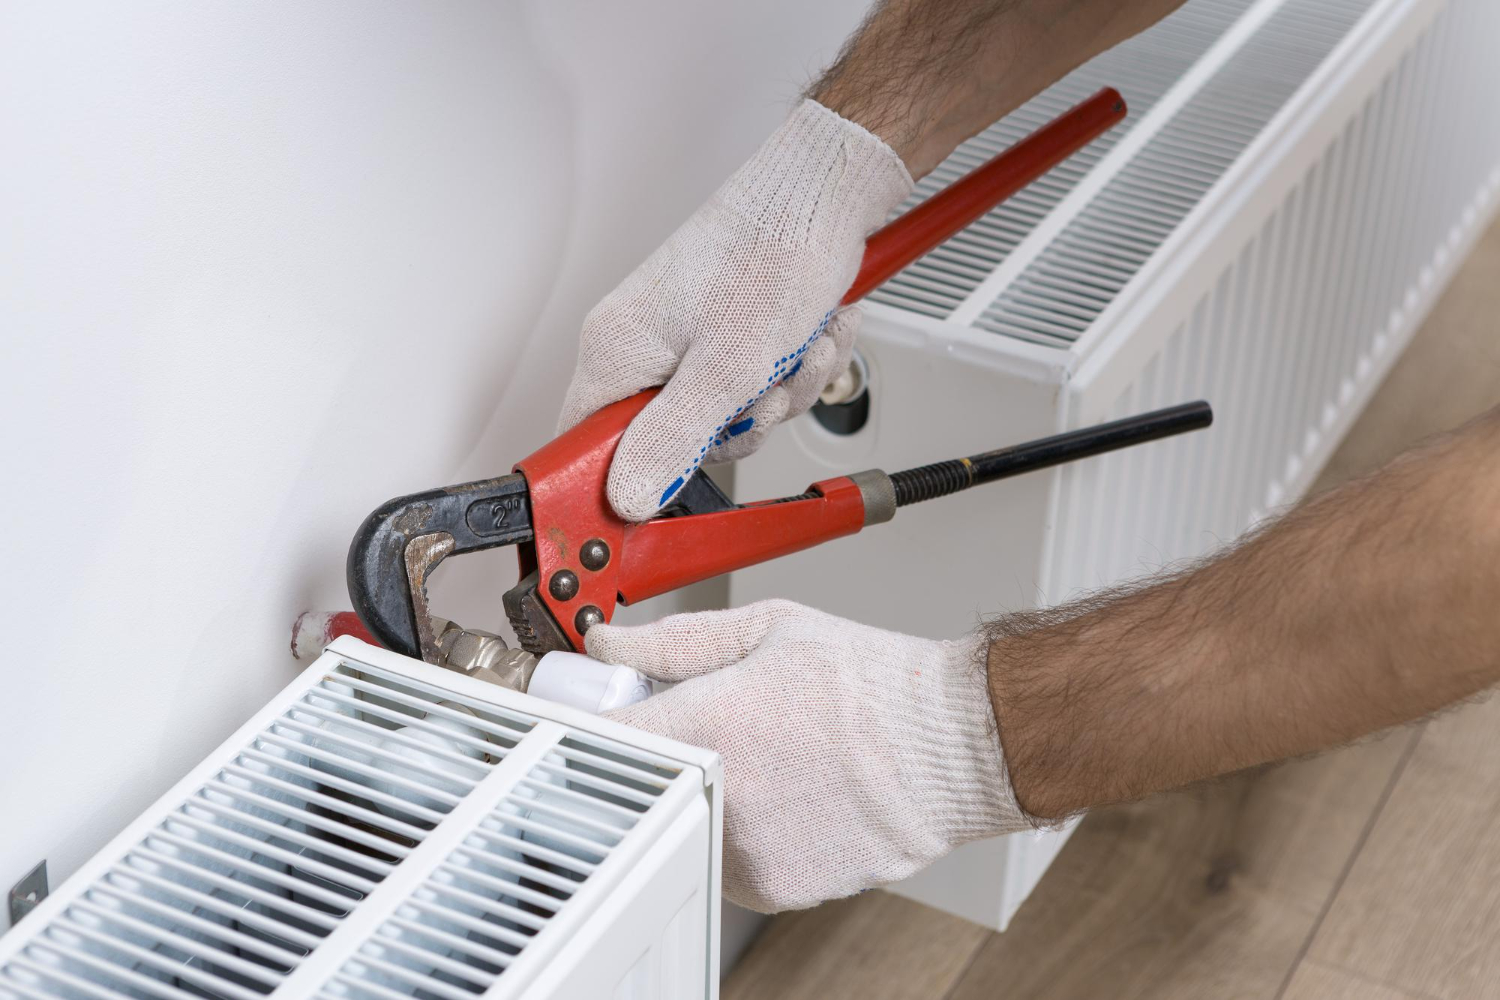
Installing a new heater requires careful attention to detail and adherence to safety protocols. Review the manufacturer’s instructions; each heater type may have specific requirements. This is crucial to ensure the installation is correct and the warranty is maintained.
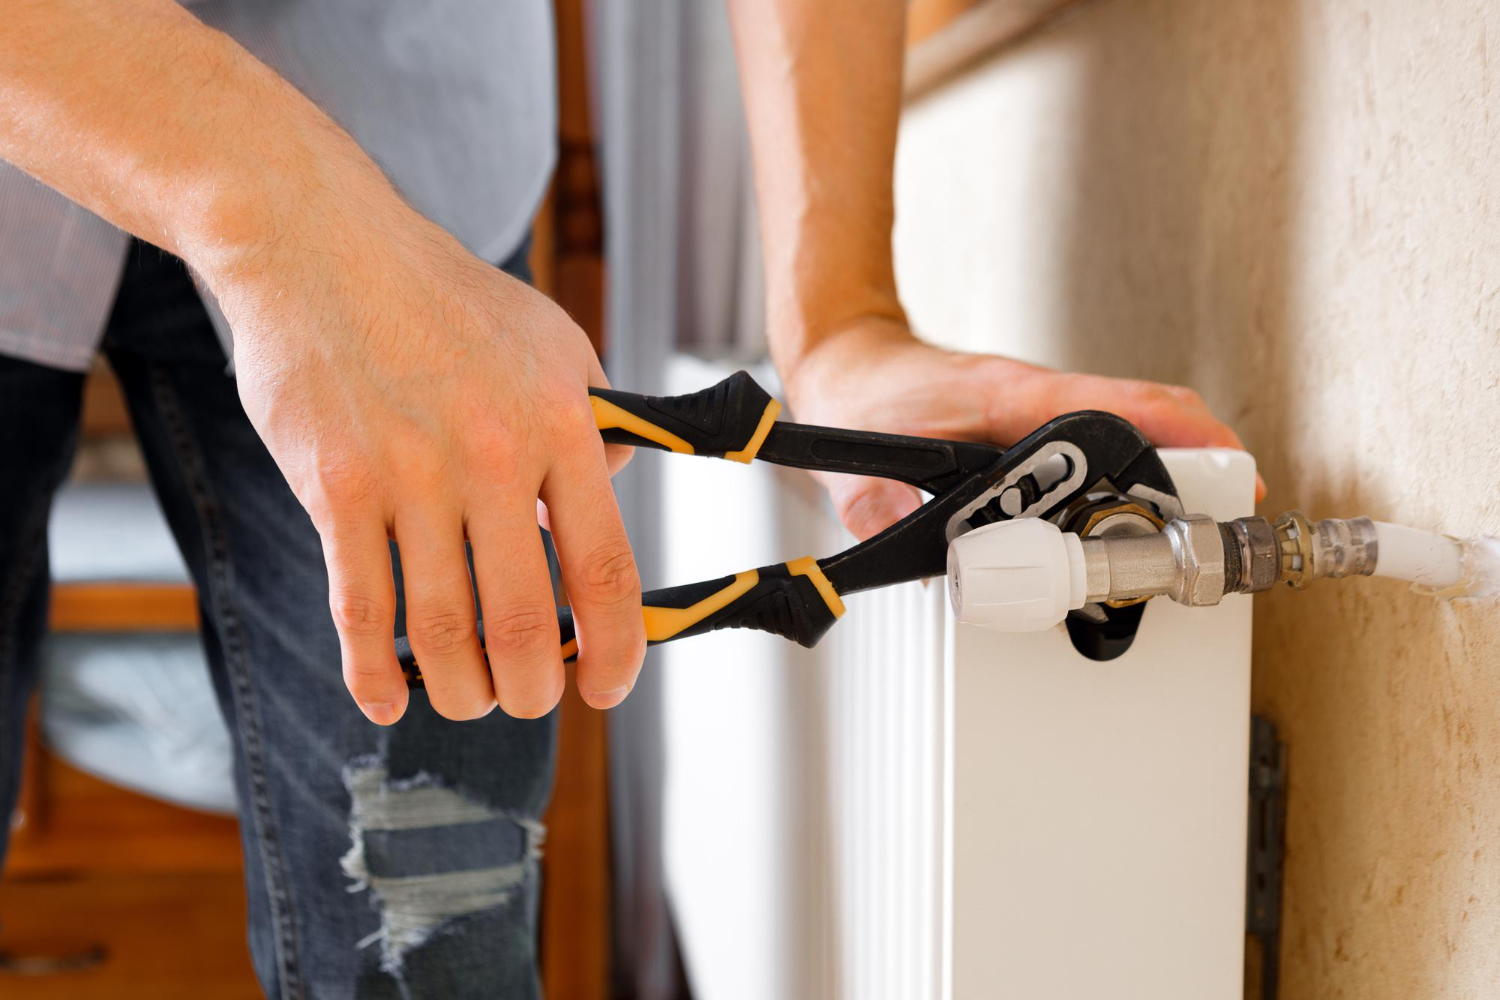
First, confirm that the heater’s location is suitable and has enough clearance from walls or other obstacles. Proper placement enhances efficiency and safety. For gas heaters, connect the gas supply following safety guidelines and check for leaks using soapy water on connections. For electric heaters, ensure the electrical connections are secure and grounded, adhering to local codes.
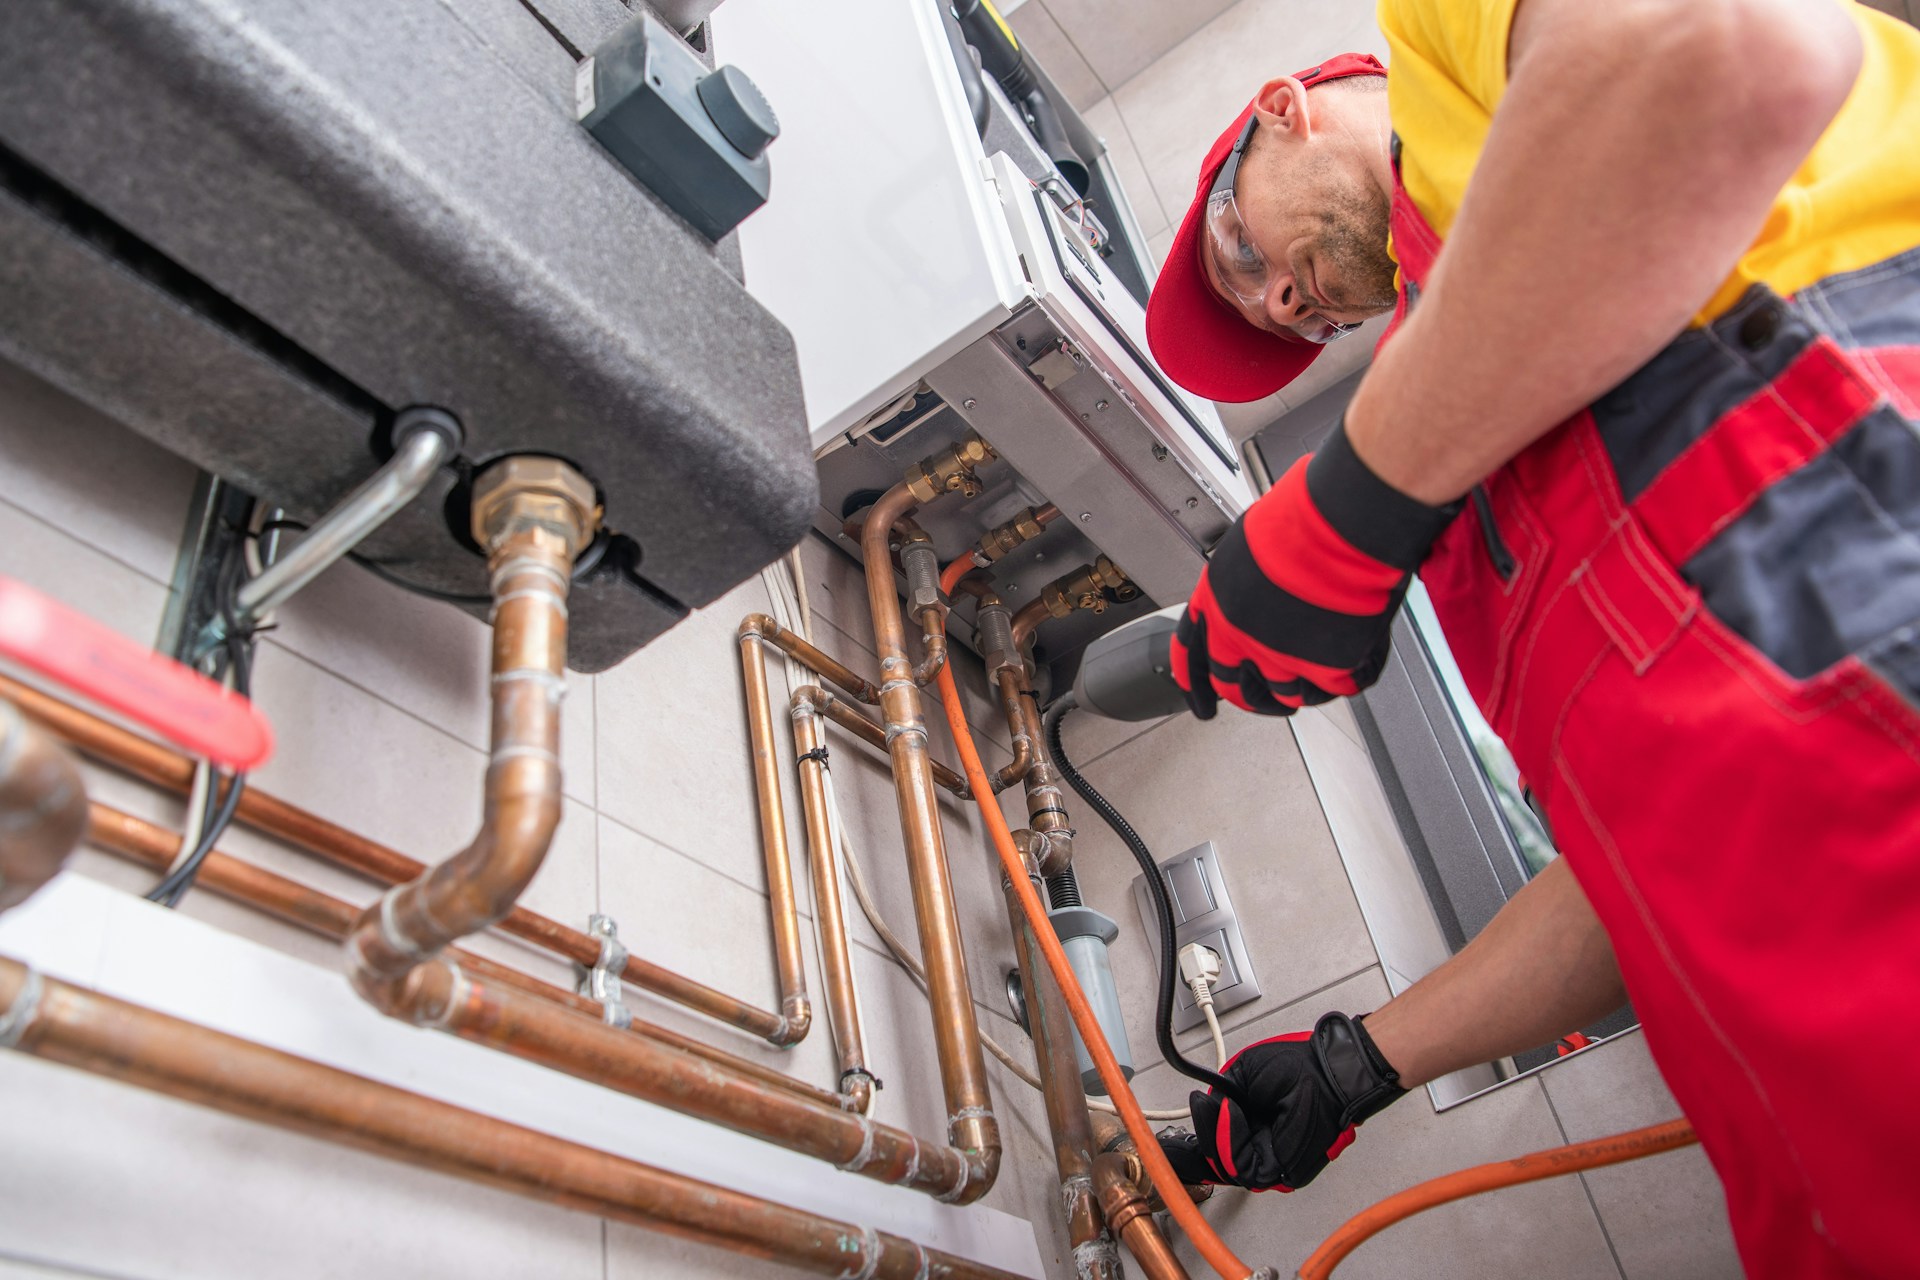
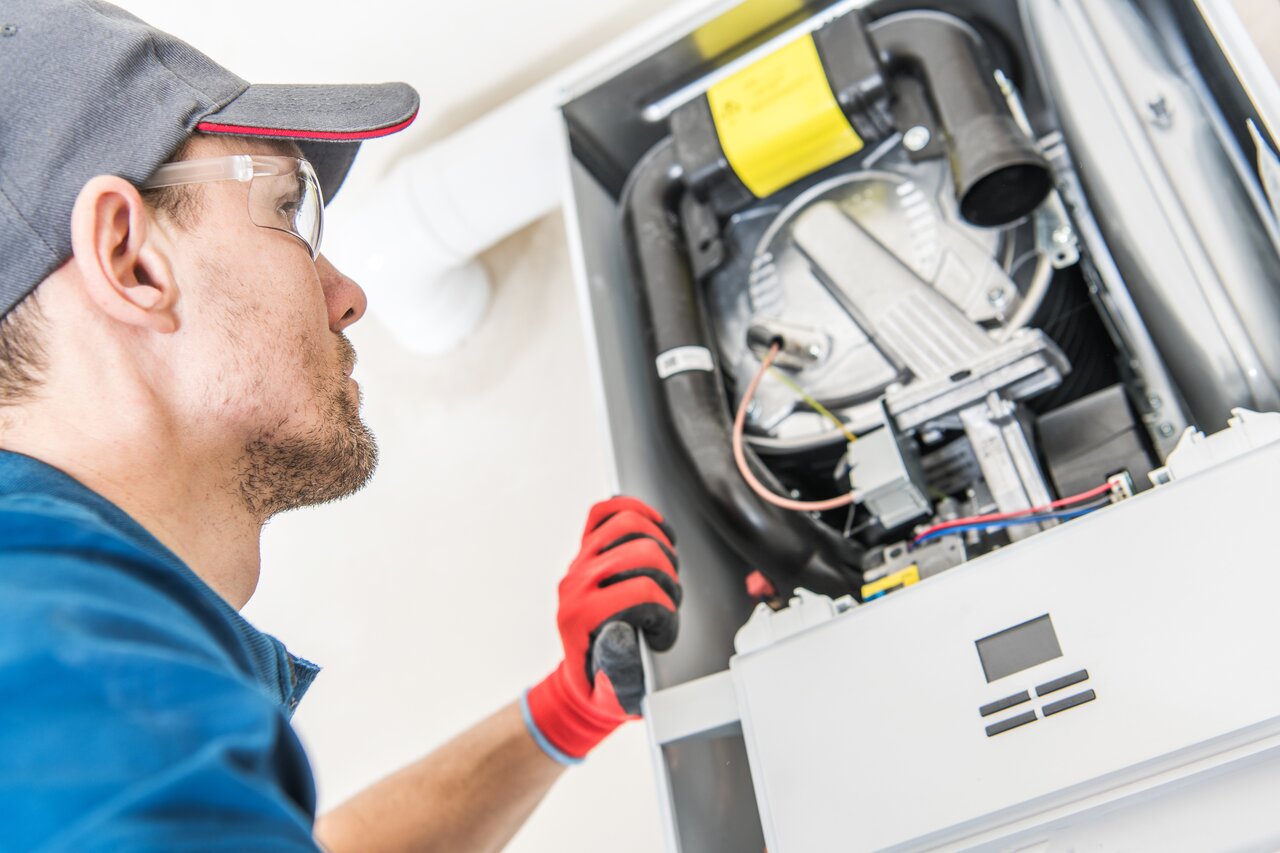
During installation, prioritize safety by wearing protective gear like gloves and goggles, especially when handling gas or electrical components. It’s also vital to ensure that power and gas supplies are turned off before installation.
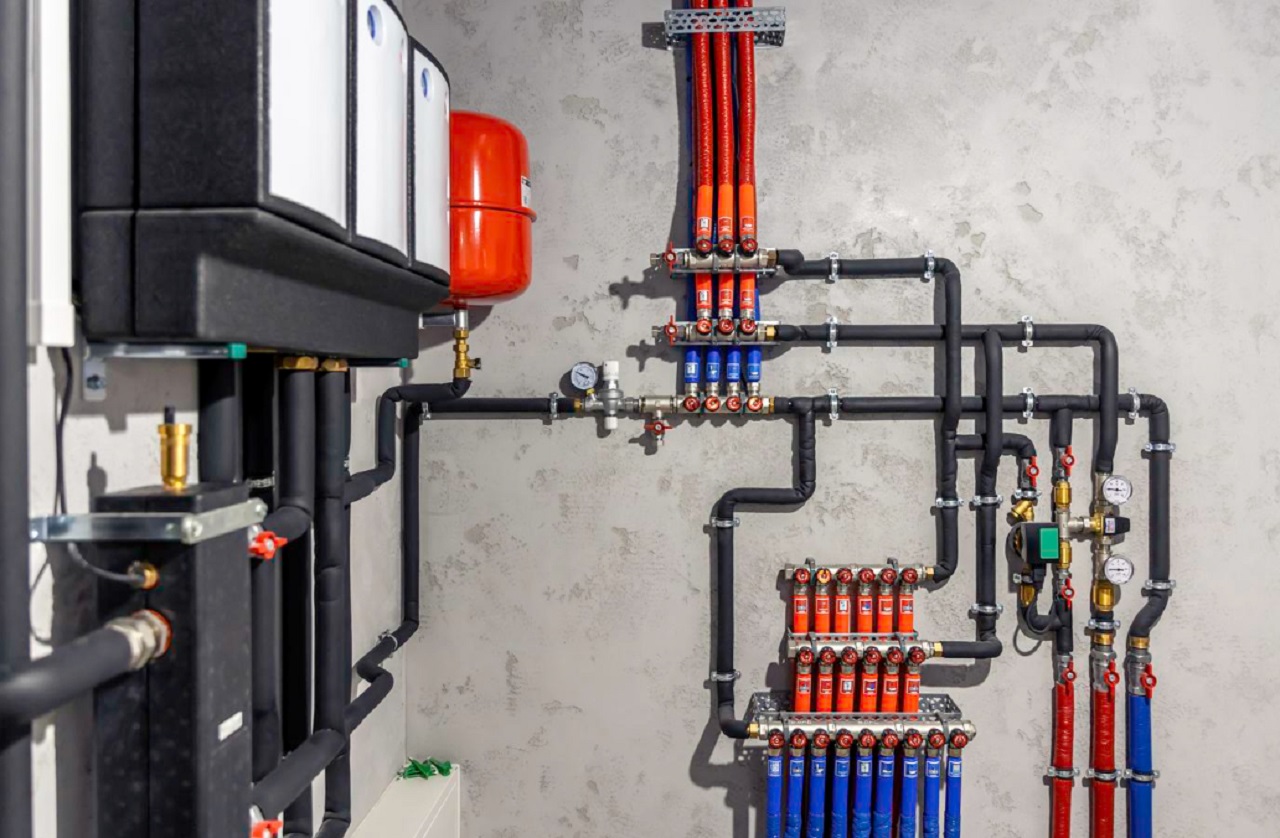
Energy efficiency is another important factor. Installations positioned closer to the points of use, like kitchens and bathrooms, minimize heat loss from pipes. Also, insulation should be added to water pipes to maintain water temperature and reduce energy consumption.
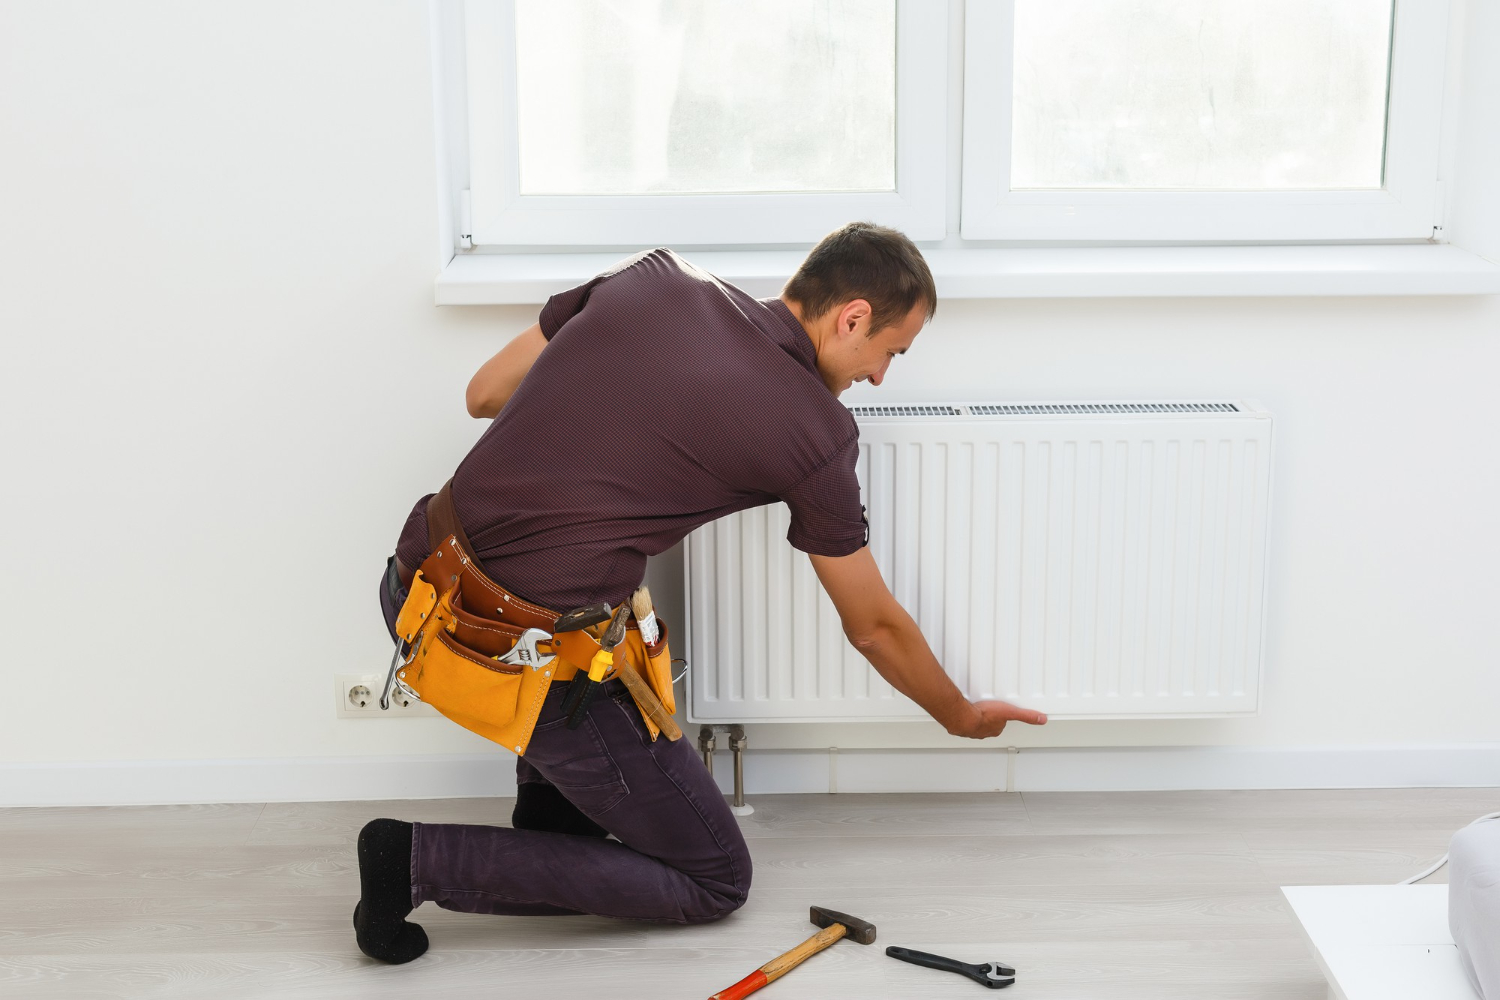
Once installed, test the heater by turning it on and monitoring its performance. Watch for unusual noises or leaks, and ensure the thermostat functions correctly. Address any concerns immediately to prevent future issues. Installing a new heater with these considerations in mind maximizes safety and efficiency, delivering consistent comfort.
Post-Installation Tips and Maintenance
Once your new heater is up and running, a few simple checks can ensure everything is performing perfectly. Start with a checklist right after installation:
– Confirm that all connections, whether gas or electrical, are secure and leak-free.
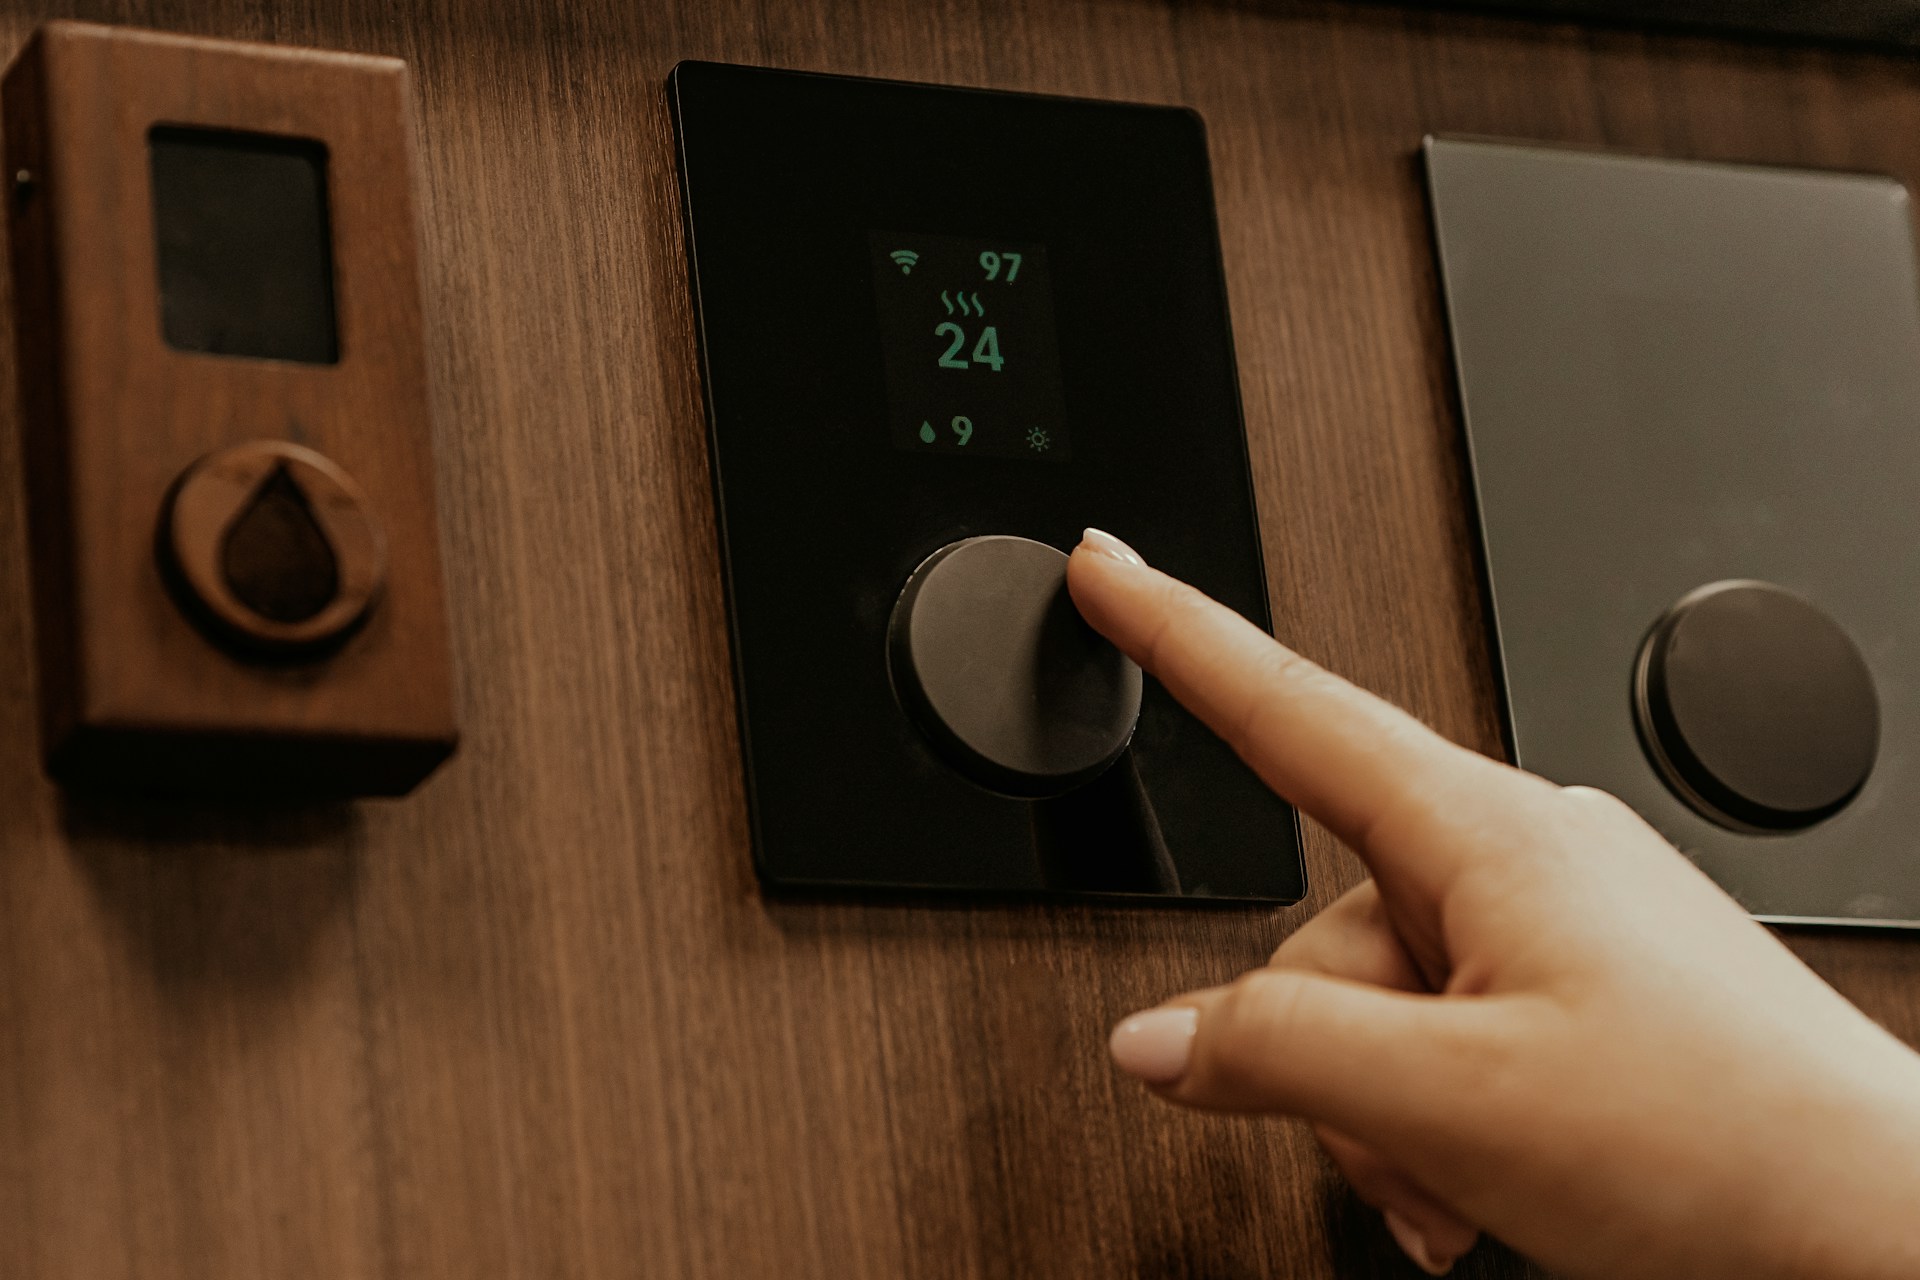
– Check the thermostat settings to verify they’re working as expected.
– Inspect for unusual noises or vibrations, which might indicate installation issues.
– Ensure proper airflow and no obstructions around the heater.
Regular maintenance is key to extending the life and efficiency of your heater. Schedule a professional tune-up annually to inspect essential components and clean the system. For water heaters, consider flushing the tank once a year to remove sediment build-up, which can affect performance.
Change or clean air filters regularly, typically every 1–3 months, to improve airflow and efficiency. This is essential for furnaces and HVAC systems. Also, keep vents and ducts clear of dust and debris to ensure optimal circulation.
Finally, monitor your energy bills; a sudden spike could indicate an issue with your heater’s efficiency. By following these maintenance tips, you can ensure that your heater continues to provide warmth and comfort efficiently.
Conclusion
Efficiently installing a new heater involves understanding the type needed, preparing your home, and carefully carrying out the installation. Regular maintenance checks play a significant role in keeping your heating system running smoothly over the years. By following these practices, you enhance comfort and optimize energy use, which can lead to long-term savings.
My Jockey is ready to provide expert water heater services for your heating needs. Our team can guide you through selecting the right heater, ensuring its proper installation, and maintaining it for years of reliable service. Reach out today to ensure your home remains warm and inviting all winter.

